This website is built with Jekyll, build with Docker and deploy with
Nginx on bare metal. At the deploy step,
it’s all about copy file html files from docker to nginx’s www directory.
A process of auto-build & auto-deploy is done with Jenkins.
2. Jenkins
a. Build Trigger
I use GitHub hook trigger for GITScm polling.
[1] Jenkins - Build Trigger
In addition, on the github, I configure github’s webhook.
[2] Jenkins - Github's webhook
b. Pipeline
pipeline{agentanystages{stage('Clone Repo'){steps{git'https://github.com/nguyenvinhlinh/nguyenvinhlinh.github.io'}}stage('Build'){steps{sh'DOCKER_BUILDKIT=1 docker build -f Dockerfile --target=release --output nginx-dist .'}}stage('Remove old html'){steps{sh'rm -rvf /usr/share/nginx/hexalink.xyz.html/*'}}stage('Copy to /usr/share/nginx/hexalink.xyz.html/'){steps{sh'cp -r ./nginx-dist/* /usr/share/nginx/hexalink.xyz.html/'}}}}
There is a trick here to copy to nginx’s www directory. user named jenkins does copy file htmls into the nginx’s html directory.
As a consequence, prior to run pipeline,
First, I create nginx’s html directory (/usr/share/nginx/hexalink.xyz.html/)
Then, I change user ownership to jenkins.
3. Nginx
a. Nginx config for hexalink.xyz / www.hexalink.xyz
server{listen443ssl;listen[::]:443ssl;http2on;server_namehexalink.xyzwww.hexalink.xyz;root/usr/share/nginx/abc.xyz.html;ssl_certificate"/etc/pki/abc.xyz/www_abc_xyz.bundle.crt";ssl_certificate_key"/etc/pki/abc.xyz/www_abc_xyz.pem";ssl_session_cacheshared:SSL:1m;ssl_session_timeout10m;ssl_ciphersPROFILE=SYSTEM;ssl_prefer_server_cipherson;charsetUTF-8;# Load configuration files for the default server block.include/etc/nginx/default.d/*.conf;}
Change directory to zephyr-wallet/client, install packge dependencies and build
$ cd zephyr-wallet
$ cd client
$ npm install$ export NODE_OPTIONS=--openssl-legacy-provider$ npm run build:desktop
$ npm run copy-build
3. Build zephyr wallet desktop app
Change directory to zephyr-wallet/zephyr-desktop-app, install package dependencies.
$ cd zephyr-wallet/zephyr-desktop-app
$ npm install
Modify the file named forge.config.js at line 90. Add a new maker named @electron-forge/maker-rpm. This config is a must for Electron Forge to build .rpm file.
For reference, please check https://www.electronforge.io/config/makers/rpm.
Now, it’s time to build rpm file, I do reference from zephyr-wallet/sh/make.sh
$ cd zephyr-wallet/zephyr-desktop-app
$ export ZEPHYR_DESKTOP_DEVELOPMENT=false
$ export NODE_INSTALLER=npm
$ npm run make -- --targets="@electron-forge/maker-rpm"
> zephyr@1.0.2 make
> npm run build && electron-forge make --targets=@electron-forge/maker-rpm
> zephyr@1.0.2 build
> tsc
✔ Checking your system
✔ Loading configuration
✔ Resolving make targets
› Making for the following targets: rpm
✔ Running package command
✔ Preparing to package application
✔ Running packaging hooks
✔ Running generateAssets hook
✔ Running prePackage hook
✔ Packaging application
✔ Packaging for x64 on linux [11s]
✔ Running postPackage hook
✔ Running preMake hook
✔ Making distributables
✔ Making a rpm distributable for linux/x64 [42s]
✔ Running postMake hook
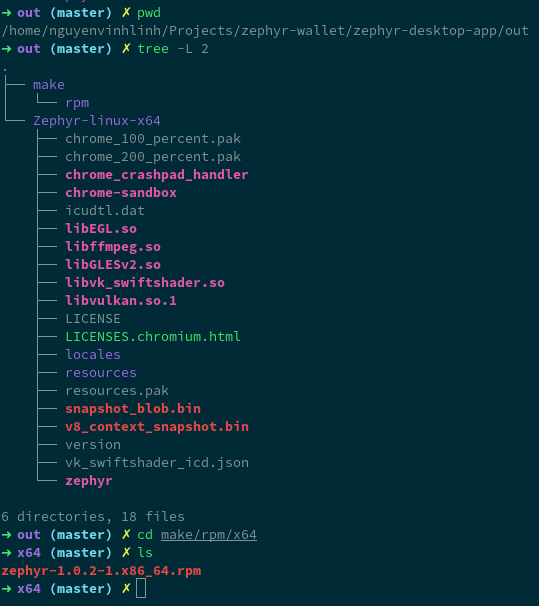
› Artifacts available at: /home/***/Projects/zephyr-wallet/zephyr-desktop-app/out/make
The rpm file should be in out/make/rpm/x86/. Done!
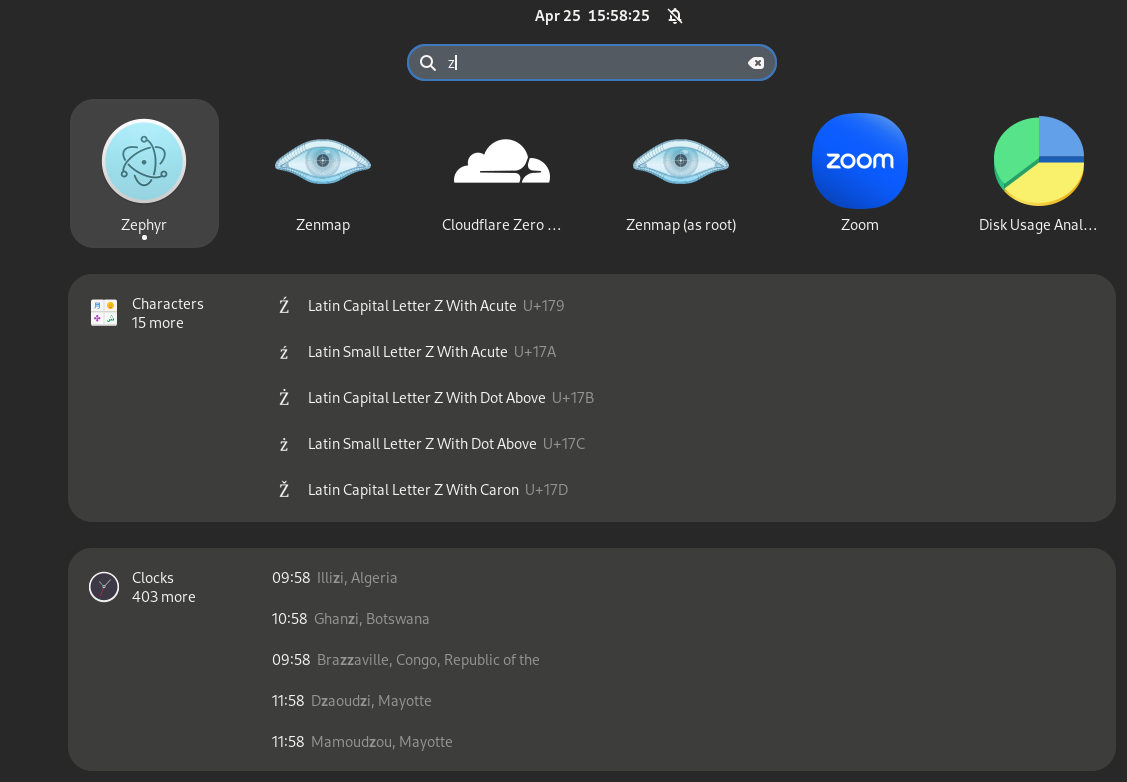
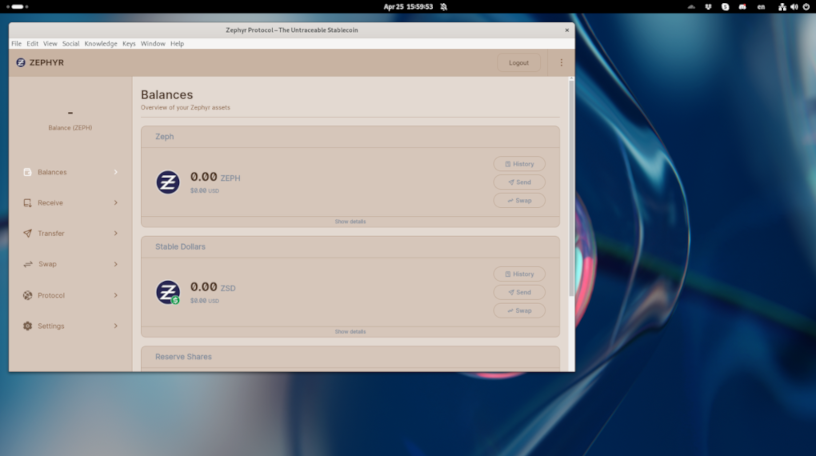
For quick testing without rpm install, you can execute zephyr-wallet/zephyr-desktop-app/out/Zephyr-linux-x64/zephyr.
For rpm istall, you can run the following command.
$ cd zephyr-desktop-app/out/make/rpm/x64
$ sudo dnf install zephyr-1.0.2-1.x86_64.rpm
During handling of the above exception, another exception occurred:
Traceback (most recent call last):
  File "/usr/local/lib/python3.7/site-packages/urllib3/connectionpool.py", line 600, in urlopen
    chunked=chunked)
  File "/usr/local/lib/python3.7/site-packages/urllib3/connectionpool.py", line 343, in _make_request
    self._validate_conn(conn)
  File "/usr/local/lib/python3.7/site-packages/urllib3/connectionpool.py", line 839, in _validate_conn
    conn.connect()
  File "/usr/local/lib/python3.7/site-packages/urllib3/connection.py", line 344, in connect
    ssl_context=context)
  File "/usr/local/lib/python3.7/site-packages/urllib3/util/ssl_.py", line 345, in ssl_wrap_socket
    return context.wrap_socket(sock, server_hostname=server_hostname)
  File "/usr/local/lib/python3.7/site-packages/urllib3/contrib/pyopenssl.py", line 462, in wrap_socket
    raise ssl.SSLError('bad handshake: %r' % e)
ssl.SSLError: ("bad handshake: Error([('SSL routines', 'tls_process_server_certificate', 'certificate verify failed')])",)
During handling of the above exception, another exception occurred:
Traceback (most recent call last):
  File "/usr/local/lib/python3.7/site-packages/requests/adapters.py", line 449, in send
    timeout=timeout
  File "/usr/local/lib/python3.7/site-packages/urllib3/connectionpool.py", line 638, in urlopen
    _stacktrace=sys.exc_info()[2])
  File "/usr/local/lib/python3.7/site-packages/urllib3/util/retry.py", line 399, in increment
    raise MaxRetryError(_pool, url, error or ResponseError(cause))
urllib3.exceptions.MaxRetryError: HTTPSConnectionPool(host=MY_ADFS_SERVER.LOCAL', port=443):
Max retries exceeded with url: /FederationMetadata/2007-06/FederationMetadata.xml
(Caused by SSLError(SSLError("bad handshake: Error([('SSL routines', 'tls_process_server_certificate', 'certificate verify failed')])")))
Why does it happen?
Redash trying to get SAML’sFederationMetadata.xml from a self-sign ADFS server. Python package named certifi did not update with your new CA’s certificate.
How to solve?
Find certifi’s cacert.pem and update it.
In terminal, type python to access its interactive shell. Then, type the following command.
[1] Open certificate viewer in Google Chrome[2] Export certificate
Only need to use extract CA’s certificate. Export it with file extension named .pem
Please take a note that, update-ca-trust determines certificate format using file header which locates in very first bytes in the binary file. Eventhough you save certificates with .crt , .cer, it’s still .pem.
To determine file format, you shoule use command file, for example $ file file_name.
To illustrate this point. I’ll give an example.
####### List all file, take a look at the file extension, .crt and .pem$ ls-l'Default Trust_DigiCert Global Root CA.crt''Default Trust_DigiCert Global Root CA.pem'####### Determine file format with command named `file`$ file *
Default Trust_DigiCert Global Root CA.crt: PEM certificate
Default Trust_DigiCert Global Root CA.pem: PEM certificate
Step 2. Copy certificate authority’s certificate to /etc/pki/ca-trust/source/anchors
Step 3. Update /etc/ssl/certs/ca-certificates.crt
$ sudo update-ca-trust extract
You can check this file /etc/ssl/certs/ca-certificates.crt to ensure that it is updated.
![[1] Jenkins - Build Trigger](/image/posts/2024-07-05-How-does-this-website-is-built-delploy/1.png)
![[2] Jenkins - Github's webhook](/image/posts/2024-07-05-How-does-this-website-is-built-delploy/2.png)
![[1] Open certificate viewer in Google Chrome](/image/posts/2023-09-08-How-to-add-Certificate-Authority-(CA)-in-Fedora-to-support-chain-certificate/1.png)
![[2] Export certificate](/image/posts/2023-09-08-How-to-add-Certificate-Authority-(CA)-in-Fedora-to-support-chain-certificate/2.png)
![[3] Before update-ca-trust](/image/posts/2023-09-08-How-to-add-Certificate-Authority-(CA)-in-Fedora-to-support-chain-certificate/3.png)
![[3] After update-ca-trust](/image/posts/2023-09-08-How-to-add-Certificate-Authority-(CA)-in-Fedora-to-support-chain-certificate/4.png)